If you need a quick to make a dessert with fewer calories, this low-fat fluffy vegan chocolate mousse with aquafaba recipe is what you want! It is completely vegan and also perfect for calorie counting and weight-loss diets.
Am really excited to bring this vegan chocolate mousse with aquafaba since the time I have read about fake egg whites! I couldn’t believe my eyes that something I have always discarded has shaped up into this creamy dreamy chocolate dessert, I mean the possibilities of using any ingredient are really endless! No?
Now isn’t it exciting news for vegans as well as people who hate eggs? Things like these definitely up the game for someone like me as well who want to be a complete vegan one day.
So to begin with, Chocolate Mousse is a soft dessert that incorporates air bubbles to give it a light and airy texture. It really can be light and fluffy to creamy and thick depending upon the ingredients one chooses and the type of preparation techniques.
Chocolate Mousse is often made with eggs, heavy cream and sugar that can quickly sum up to loads of calories which inst good for our weight loss game. But this recipe for vegan chocolate mousse with Aquafaba is a winner giving us the taste of a traditional mousse by still keeping the calories low. How cool is that!
Ingredients for Vegan Chocolate Mousse with Aquafaba recipe
- Aquafaba i.e the liquid you get in canned chickpeas.
- Vegan Dark Chocolate( I used 70% cocoa)
- Sweetener(granulated sugar equivalent weight)
What is Aquafaba ? How to whip it perfectly?
Aquafaba is the viscous water in which legume seeds such as chickpeas have been cooked or stored in. It can be obtained in 2 ways.
- Draining canned chickpeas
- Cook chickpeas at home and reserve the liquid/water in which they are cooked.
You should have an electric hand or stand mixer in order to whip this liquid. I think it is nearly impossible to get it whipped using the hand as with electric mixer itself it took me really anywhere between 12 -15 minutes to get those soft peaks although it may depend upon how thick your liquid is and the power of your mixer. So work on your apparatus and experiment.
I have never tried making it with home-cooked chickpea water so can’t really comment. suggest you start with canned chickpeas water. But if you want to make it at home, use this guide.
How is this chocolate mousse with aquafaba recipe suitable for weight loss?
- Not using any heavy diary cream here that avoids a lot of fats.
- No high amounts of sugar used.
- Using vegan dark chocolate that is free of dairy and has less added sugars.
- Since we are using plain water almost the overall calorific value is very less making it a perfect choice for those sweet cravings even if you are on a weight loss diet.
How to store chocolate mousse?
This stayed good in my fridge for a week! the taste hasn’t changed much and even improved I should say. Cover the chocolate mousse with a foil to make sure it doesn’t pick up any odours from the fridge.
How to serve chocolate mousse?
This has to be properly chilled before serving. As I have spent more time shooting it esp under bright sunlight, it has really melted a bit.
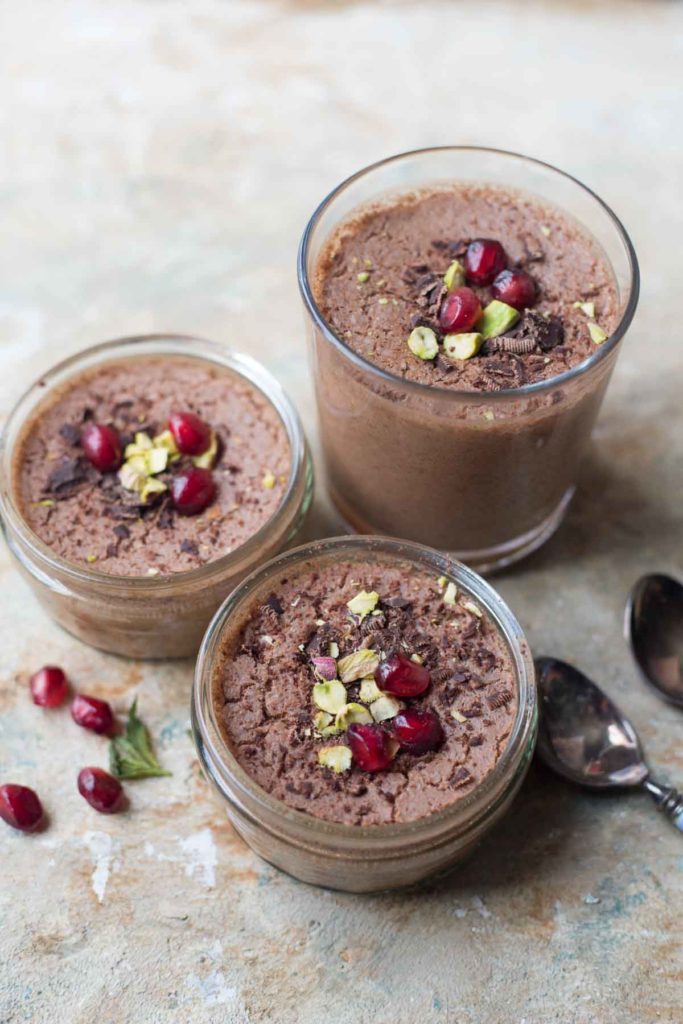
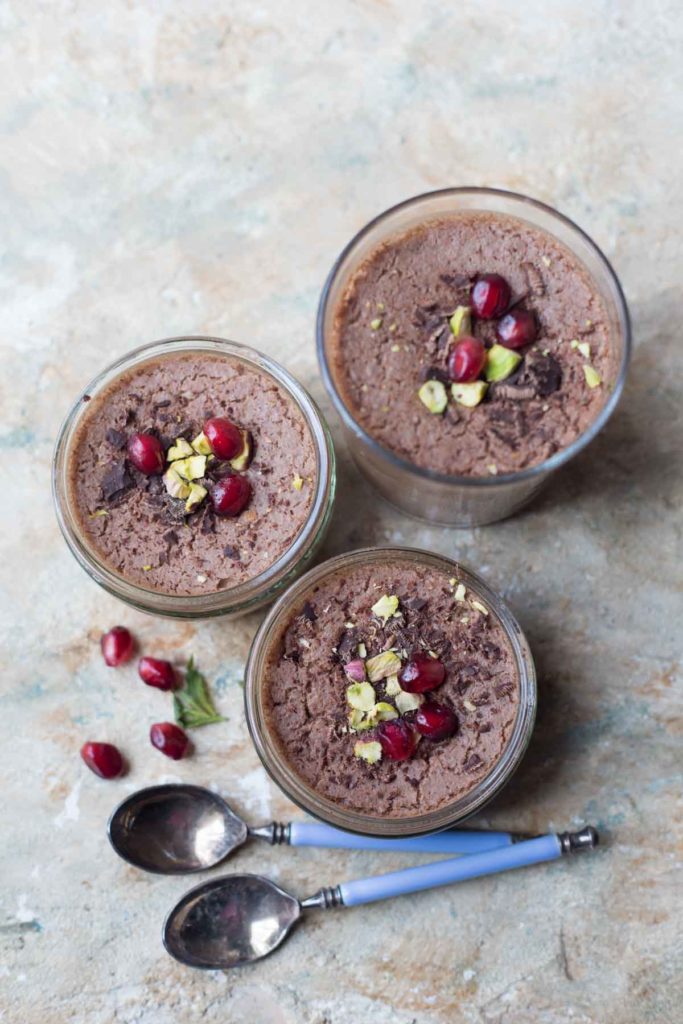
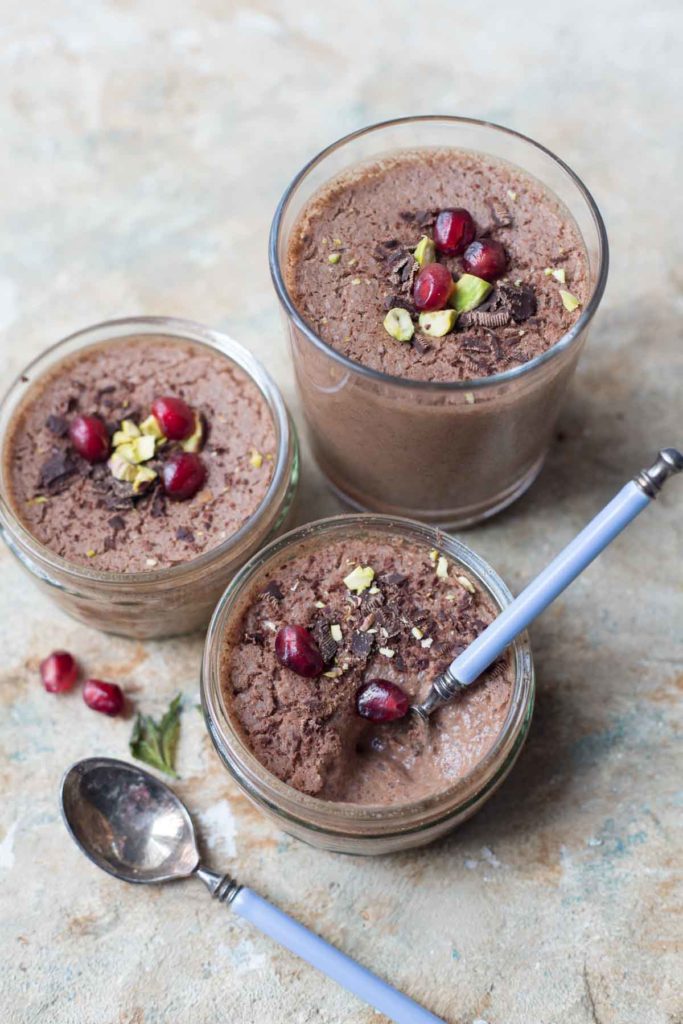
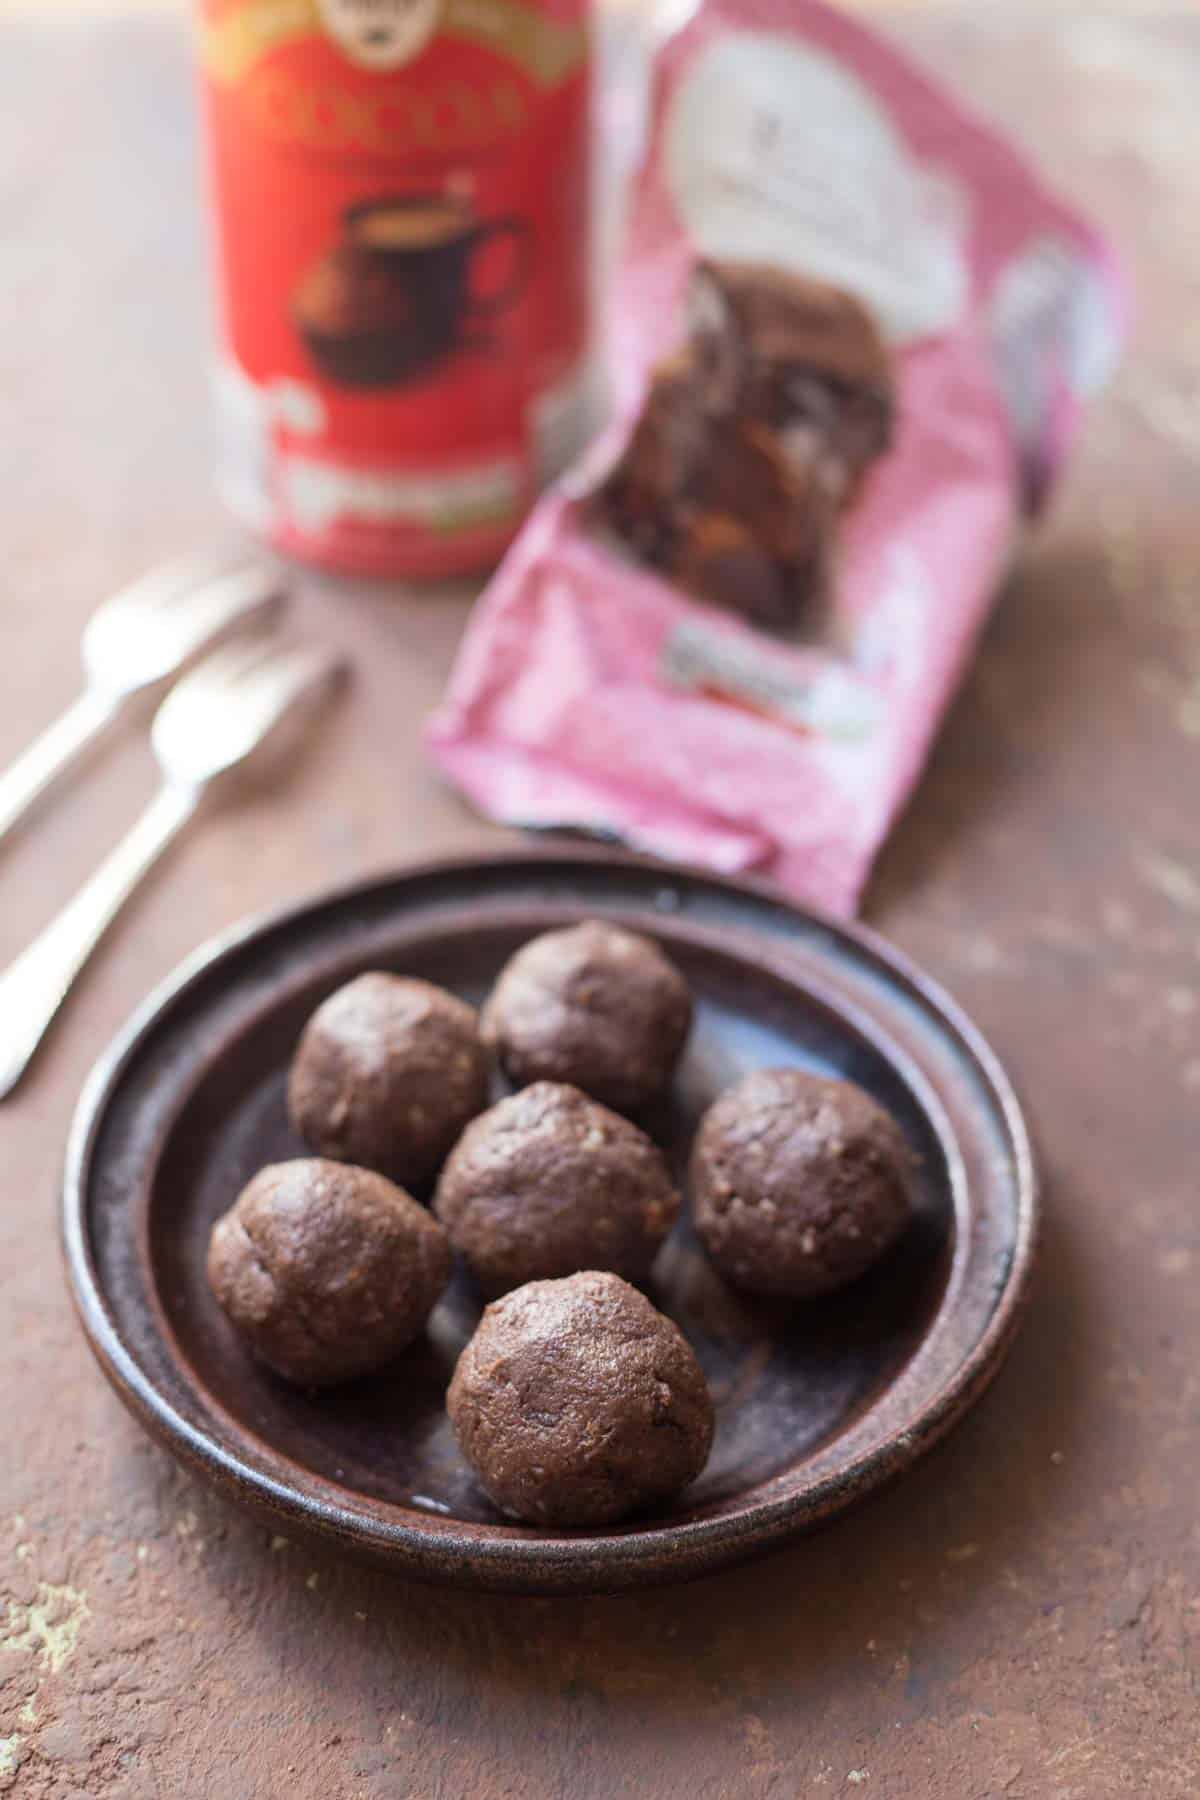
It tastes great on its own of course but decorate with lightly crushed pistachios and pomegranate seeds to make it nutrient-dense.
Can I freeze vegan chocolate mousse?
I haven’t tried personally , however I do think it is suitable for freezing just like any other similar desserts. When you are ready to eat, leave it on the counter top for 30 min or so and I think it should be just fine.
Tips for making Vegan Chocolate Mousse with Aquafaba
- Whip until the mixture forms stiff peaks. If you invert the bowl, the mixture should not fall down. Use an electric mixer always.
- Make sure you melt the chocolate using the stove top method as it can get burnt quickly in the microwave.
- If you are making it the first time, make sure you fold in the some of the whipped aquafaba into chocolate mixture first and then fold that into remaining mixture. It would be a bit difficult to fold in the melted chocolate directly into aquafaba.
- Sugar is optional, but if using try to incorporate powdered sugar or a sweetener.
- Chocolate is ideally to be melted on the boiling pot method to avoid burning.
- The amount of chocolate really depends on your taste, I used less as I only needed a hint of it, you could increase it if you want.
- allow the chocolate to cool down a bit as mixing hot chocolate into aquafaba can spill the texture and air bubbled formed.
My aquafaba has gone wrong! How to fix it?
Good news is that like whipped cream or eggs, aquafaba won’t go flat if you whip for extra long time. If at any point you noticed it to be flat, keep whipping up again until you get stiff peaks.
Also there is no reason the recipe fails even if you run into a slightly less textured aquafaba as it taste good anyways 🙂
Video recipe for Vegan Chocolate Mousse with Aquafaba
Coming soon 🙂
Print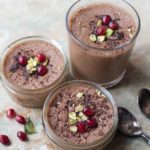
Low-Fat Vegan Chocolate Mousse with Aquafaba
- Prep Time: 20
- Total Time: 20
- Yield: 4 1x
- Diet: Vegan
Description
This vegan chocolate mousse is a fluffy and a light dessert you can have even while you are on any calorie counting diets for losing weight. It low-fat, low-calorie and can still fix your chocolate or dessert cravings.
Ingredients
- 1 Can chickpeas (we will use the only aquafaba from it)
- 40g vegan dark chocolate
- 1 tablespoon sweetener
- 1 teaspoon pomegranate seeds
- 1 teaspoon pistachios lightly crunched.
Instructions
- Break the dark chocolate into smaller pieces and place it in a glass or metal bowl.
- Place the bowl over a pot of boiling water making sure the chocolate bowl doesn’t touch the water.
- The chocolate will begin to melt slowly and take care not to burn it. Once done take out the bowl and allow it to cool down slightly. We don’t want to put very hot chocolate in the next step.
- Open the can of chickpeas and drain the liquid taking into a big mixing bowl which should be clean and non-greasy.
- Using an electric hand mixer, Start beating it like you beat eggs until fluffy and it forms stiff peaks. Forming stiff peaks is very important. Do not get scared of you over whipping it as that won’t happen :). this step will take a good 15 min. You could do with stand mixer too.
- Once you get the above consistency, fold in the cooled and melted chocolate gently into the whipped aquafaba. Mix very gently using a spatula making sure not to disturb the texture of it.
- Don’t worry if the aquafaba turns deflated a bit as its absolutely normal but make sure you don’t disturb it too much while mixing the melted chocolate.
- Carefully pour this mixture into glass jars and refrigerate for at least 5 hours or preferably overnight.
- Garnish with fruits and nuts of your choice but keep it low-calorie ofcourse
Notes
- Whip until the mixture forms stiff peaks. Use an electric mixer always.
- Make sure you melt the chocolate using the stovetop method as it can get burnt quickly in the microwave.
- If you are making it the first time, make sure you fold in the some of the whipped aquafaba into chocolate mixture first and then fold that into remaining mixture. It would be a bit difficult to fold in the melted chocolate directly into aquafaba.
- Sugar is optional, but if using try to incorporate powdered sugar or a sweetener.
- Chocolate is ideally to be melted on the boiling pot method to avoid burning.
- The amount of chocolate really depends on your taste, I used less as I only needed a hint of it, you could increase it if you want.
- allow the chocolate to cool down a bit as mixing hot chocolate into aquafaba can spill the texture and air bubbled formed.
- Category: Dessert
Keywords: chickpeas, vegan, chocolate, low-calorie, low-fat
This post may contain affiliate links which means if you buy the product I will earn a small commission which goes into the maintenance of this website. Your purchase price will not get impacted at all.
If you ever make my version of vegan chocolate mousse with aquafaba, please consider rating the recipe and tag me on Instagram @fatrainbowgirl and using a hashtag #fatrainbowcooks.

This was delightful. The first two times I made it, it came out more firm than this last time….I am not quite sure what I did wrong. It still tasted good regardless. Thanks for the recipe.